
A one day bathroom renovation can make a tired space feel cleaner, brighter, and more practical without changing its entire structure. Fresh paint, updated lighting, new hardware, and a replacement vanity can create visible improvement within hours. The best ideas focus on high-impact changes that avoid complicated plumbing work. Think matte black taps, a framed mirror, warm LED bulbs, and crisp white silicone around the tub.
Still, speed needs careful planning. Measure every wall, check product sizes, and confirm that replacement fixtures match existing connections. A compact vanity may look perfect online but block a door when installed. That mistake is easy to miss. Local building rules may also require approval for electrical or plumbing changes, so consult a qualified professional when the work goes beyond cosmetic updates. Experienced renovators usually prepare materials, tools, and waste disposal before demolition begins.
This guide explores seven realistic one day bathroom renovation ideas for different budgets and skill levels. Some projects suit confident homeowners. Others deserve a licensed contractor. The results may not resemble a luxury hotel, and that is worth admitting. However, a carefully chosen upgrade can improve comfort, storage, safety, and resale appeal. Look closely at the details: sealed edges, stable fittings, balanced lighting, and surfaces that resist daily moisture. A bathroom works hard. Your renovation should, too.
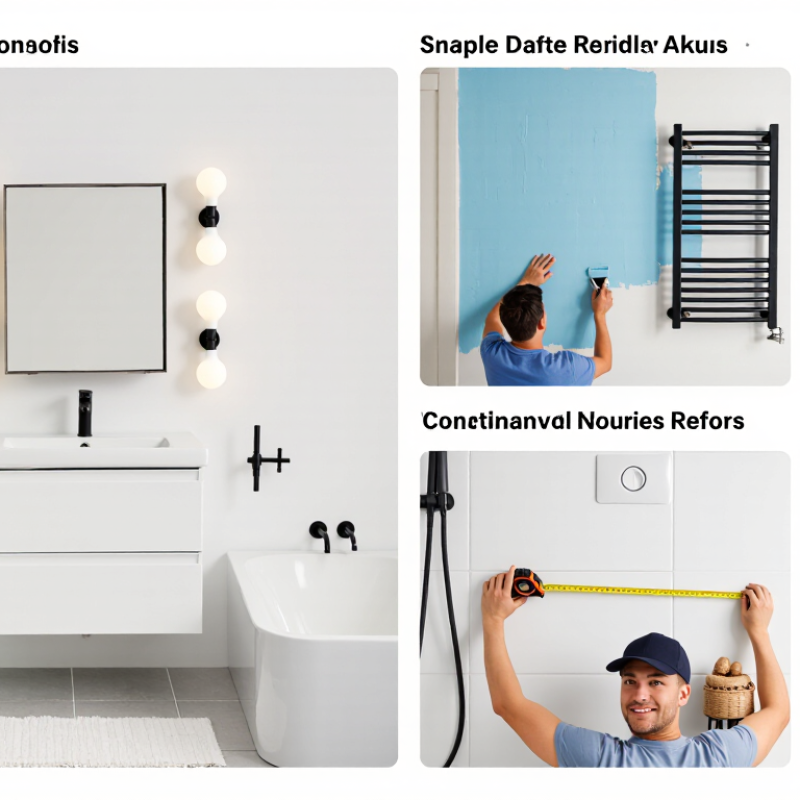
Planning a one-day bathroom renovation means choosing visible improvements with limited structural risk. Keep the sink, toilet, and shower in their existing positions. Moving plumbing can quickly turn one day into several. Measure every wall, doorway, and fixture before buying materials. A simple sketch prevents expensive mistakes.
Seven practical upgrades can change the room quickly. Repaint with moisture-resistant bathroom paint. Replace the mirror with a wider, framed style. Improve the ceiling light or add approved vanity lighting. Change cabinet handles and towel bars. Install a new faucet only if the connections match. Add slim shelves above the toilet for folded towels. Refresh stained caulk and grout around the tub and sink. Small details matter.
Prepare tools, materials, and protective coverings the evening before. Remove loose items first, then clean and dry every surface. Complete dusty work before installing hardware or applying fresh caulk. Electrical work should follow local codes and use a qualified professional when needed. Check ventilation carefully, because trapped moisture can ruin new paint. I once underestimated drying time between coats; the second coat looked uneven under bright lighting. Build in a few spare hours. One-day projects rarely allow perfect conditions, especially in older bathrooms.
Planning a one-day bathroom renovation is easier when projects are prioritized by typical labor time. The estimates below represent common DIY or straightforward professional installation durations; actual timing may vary with room size, site conditions, and preparation work.
Planning tip: Combining several small upgrades—such as new hardware, lighting, and a mirror—can create a noticeable refresh without the time required for major plumbing or tile work.
A one-day bathroom refresh should target surfaces, light, and daily touchpoints. In my renovation experience, fresh moisture-resistant paint changes the room fastest. Choose a warm white or muted green for a calmer, cleaner appearance. Replace the mirror with a wider framed model. It can make a narrow wall feel substantially larger. Update the ceiling fixture and add brighter vanity lighting. Evenly lit faces matter more than decorative brightness. Replace cabinet pulls, towel bars, and robe hooks with coordinated hardware. Small details often expose an aging bathroom.
Install a WaterSense-labeled showerhead as the fourth upgrade. The U.S. Environmental Protection Agency says these models use no more than 2.0 gallons per minute.
Replace the faucet aerator for another inexpensive improvement. Recaulk the tub, sink, and shower edges as the seventh upgrade. Crisp white sealant makes tired tile look sharper. The 2024 U.S. Houzz Bathroom Trends Study reported shower upgrades in 84% of surveyed bathroom renovations, showing where homeowners notice change most quickly.
Work carefully around wiring and hidden plumbing. Hire a qualified professional when either is involved. EPA guidance also states that WaterSense toilets use at least 20% less water than standard models, though replacement may exceed one day. Do not force every upgrade into a rushed schedule. A perfect-looking fixture with a poor seal becomes an expensive mistake. The final room may still lack luxury, but it should feel brighter, tighter, and easier to use.
A one-day bathroom refresh works best when plumbing stays untouched. The seven practical ideas are repainting walls, repairing grout, adding waterproof wall panels, updating floor coverings, replacing the mirror, improving lighting, and styling decorative surfaces. Use moisture-resistant paint in soft mineral tones. Patch cracks before painting. Otherwise, flaws return quickly. For floors, choose a slip-resistant overlay only when the existing surface is dry, level, and firmly bonded. Never hide water damage. It needs inspection.
The 2024 U.S. Houzz Bathroom Trends Study reports that 76% of renovating homeowners upgraded their shower area, showing strong demand for visible surface improvements. A second useful reference, the 2024 Cost vs. Value report, indicates that bathroom remodeling usually returns only part of its cost. Practical restraint matters.
A framed mirror can create depth without demolition. A brighter ceiling fixture improves color accuracy during grooming. Replace tired handles, then add washable textiles, a sealed wood stool, or one low-maintenance plant. Keep decorative items away from splash zones. Small details count. I once underestimated grout drying time, and the rushed finish looked uneven. Leave enough ventilation, check manufacturer instructions, and accept that one day may not suit every bathroom.
7 Best One Day Bathroom Renovation Ideas?
Replacing fixtures, lighting, and storage can refresh a bathroom within one day. Begin by measuring every connection point, wall space, and cabinet opening. This prevents rushed purchases and expensive delays. A modern faucet, showerhead, and matching handles can change the room’s character quickly. Turn off the water supply before removing old fixtures. Check for leaks immediately after installation.
Lighting deserves equal attention. Replace a tired ceiling fitting with a brighter, moisture-rated fixture. Add focused lighting near the mirror for shaving or applying makeup. Neutral white light usually shows skin tones more accurately than harsh blue light. Keep electrical work within local safety requirements, and use a qualified electrician when wiring changes are necessary. Small details matter.
Tips: Choose storage that fits your daily routine. A narrow wall cabinet can hold medicines, while open shelves keep towels accessible. Use baskets to control loose toiletries. Leave enough clearance for doors and drawers. Test everything before cleaning up. My own mistake was ignoring the cabinet swing; it blocked the towel rail. Measure twice. A one-day project may still need a second day if walls are uneven or plumbing is corroded. That is not failure. It is useful information.
7 Best One Day Bathroom Renovation Ideas?
Completing Safety Checks and Final Installation Tasks
A one-day bathroom renovation needs a disciplined final inspection. Check every water connection for slow leaks, especially beneath the basin and behind the toilet. Dry fittings with a clean cloth, then inspect again after ten minutes. The U.S. Environmental Protection Agency reports that household leaks waste nearly 1 trillion gallons of water annually in the United States. A tiny drip deserves attention.
Test the ground-fault circuit interrupter before using powered fixtures. Press the test button, confirm power stops, then reset it. Electrical work should be checked by a qualified professional. Confirm that lights, fans, switches, and outlets remain dry and firmly mounted. The Centers for Disease Control and Prevention reports that more than three million older adults receive fall treatment each year. Secure grab bars into structural support, remove packaging, and check that flooring feels stable under wet shoes.
Tips: Run the shower briefly and inspect adjacent walls. Check the door swing, drain speed, silicone joints, and water temperature. Keep the temperature below 120°F to reduce scalding risk. The World Health Organization identifies burns and falls as preventable household injuries, yet final checks are often rushed. I still recheck the drain seal after cleaning; it is easy to miss a narrow gap. Take photos of hidden pipes and wiring before closing access panels. Keep them for future repairs.
| Idea | Final Installation Task | Safety Check | Practical Target or Requirement | Typical Time | Completion Evidence |
|---|---|---|---|---|---|
| 1. Refresh the Walls | Install moisture-resistant wall panels or apply bathroom-rated paint after surface preparation. | Check that the wall is dry, firmly bonded, and free from gaps around corners and penetrations. | Seal joints and exposed edges with a suitable sanitary sealant; follow the product curing time before exposing it to water. | 2–4 hours | Even finish, sealed corners, and no visible lifting, cracking, or open joints. |
| 2. Upgrade the Floor | Fit slip-resistant flooring or replace damaged sections without disturbing sound waterproofing. | Confirm that the floor is stable, transitions are secure, and there are no raised edges that could cause trips. | Keep finished thresholds as low as practical and ensure water drains toward the waste outlet rather than pooling. | 2–5 hours | Firm surface, level transitions, clean grout lines, and no standing water during a controlled test. |
| 3. Replace the Vanity | Install a compact vanity, basin, waste fitting, and water-supply connections. | Inspect every compression joint or connector for leaks and ensure the cabinet is anchored securely to the wall. | Run the tap and drain for several minutes, then inspect below the basin with a dry tissue for moisture. | 1.5–3 hours | Level basin, stable cabinet, unobstructed trap, and no supply or waste leaks. |
| 4. Install a Water-Efficient Toilet | Fit the toilet pan, cistern, seat, flush connection, and isolation valve where applicable. | Check that the pan does not rock, the seal is correctly seated, and the flush connection is watertight. | Flush repeatedly, inspect the base and rear connection, and verify that the bowl refills without continuous running. | 1–2.5 hours | Secure pan, clean flush action, dry floor around the base, and accessible shut-off control. |
| 5. Improve the Shower Area | Install a shower rail, handset, screen or curtain, and replace worn seals where needed. | Confirm the screen is stable, the shower controls operate smoothly, and water cannot spray onto unprotected surfaces. | Test hot and cold operation, check the shower waste for fast drainage, and reseal all shower-area penetrations. | 1.5–4 hours | Stable fittings, effective splash control, smooth drainage, and no leaks at wall connections. |
| 6. Upgrade Lighting and Ventilation | Install suitable bathroom lighting, replace the fan if required, and clean or reconnect the ventilation duct. | Electrical work in wet areas should be inspected or completed by a qualified electrician according to local regulations. | Test switches, protective devices, light operation, fan airflow, and timer or humidity control where fitted. | 1–3 hours | No flickering, exposed conductors, overheating, unusual noise, or weak airflow. |
| 7. Add Storage and Accessibility Features | Mount shelves, a mirror, towel rails, grab bars, and other accessories without damaging hidden services. | Check wall fixings, edge clearance, load stability, and the absence of sharp corners or snagging points. | Use appropriate anchors for the wall type; grab bars must be fixed to structural support and should not rely on adhesive alone. | 1–2 hours | Accessories are level, firmly fixed, safely positioned, and clear of doors and walkways. |
| Final handover check | Remove tools and debris, restore water and power, test all fixtures, photograph concealed work where possible, and keep product instructions and compliance records. | ||||
Note: Local building, plumbing, electrical, ventilation, waterproofing, and accessibility requirements take priority. Allow sealants, adhesives, grout, and coatings to cure for the period specified by their manufacturers before normal use.